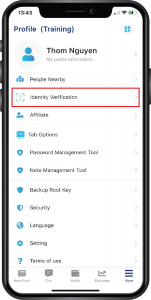
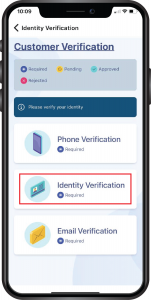
Step 1: On screen More, click “Identity Verification”.
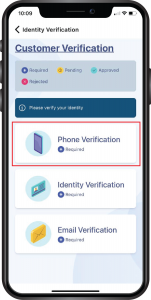
Step 2: Click “Phone Verification”
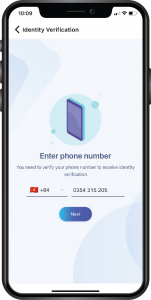
Step 3: On the next screen, select the country area code and enter your phone number, then click “Next“.
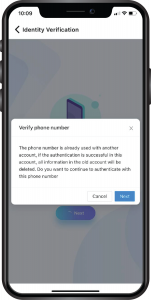
For phone numbers that have previously verified identity, after entering, the phone number will be displayed on the screen as below, click “Next“
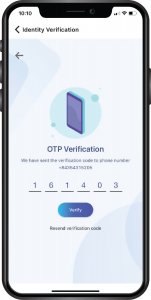
Step 4: Next, enter the OTP and click Verify. If the OTP expires, click “Resend verification code” to get the OTP again.
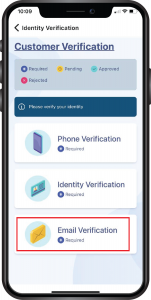
Step 5: After returning to the main screen, click “Email Verification“.
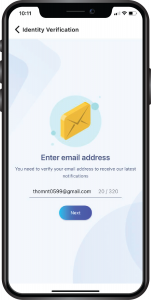
Step 6: On the next screen, enter the email and click “Next“.
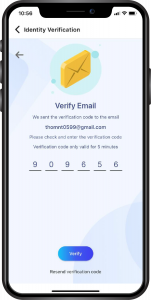
Step 7: After that, enter the Authentication Code, and click “Verify“. If the verification code expires, click “Resend verification code” to get the OTP again.
Step 8: Then the main screen will be displayed, click: “Identity Verification“.
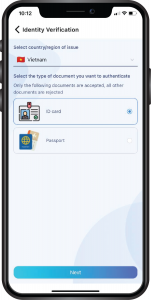
Step 9: On the next screen, Select your country and select the type of verification document. In case you select the document, it is Passport / Identity Card.
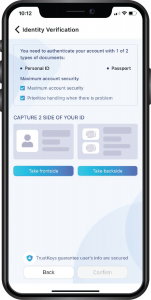
Step 10: Then click “Take frontside“, put the camera on the front side of the citizen identity card/ identity card, Similarly, click “Take backside“.
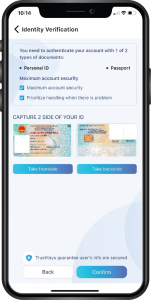
Step 11: Then display 2 sides of citizen identity card/ identity card, click “Confirm“
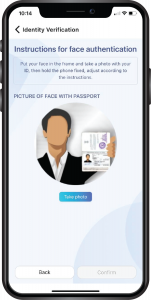
Step 12: Click “Take photo” to take your photo with the front side of your passport/ identity card.
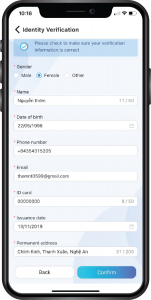
Step 13: Then, type the information and click “Confirm“
Similar to Identity verification with a citizen identification, you can choose a document that is a passport.
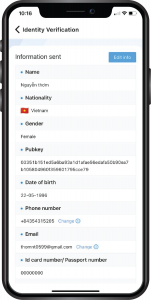
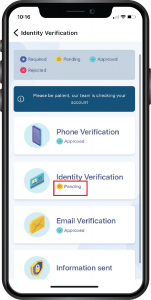
So you have completed the identity verification and are just waiting for the administrator to approve your profile, If the information you entered has errors, click: “Edit information“
Step 14: Once the administrator has approved the profile, please check the information below. If the application has been approved, click “Submitted” to see the information you have verified. If the application has been rejected, click “Submitted” to check the reason for the rejection and perform re-verification.

